
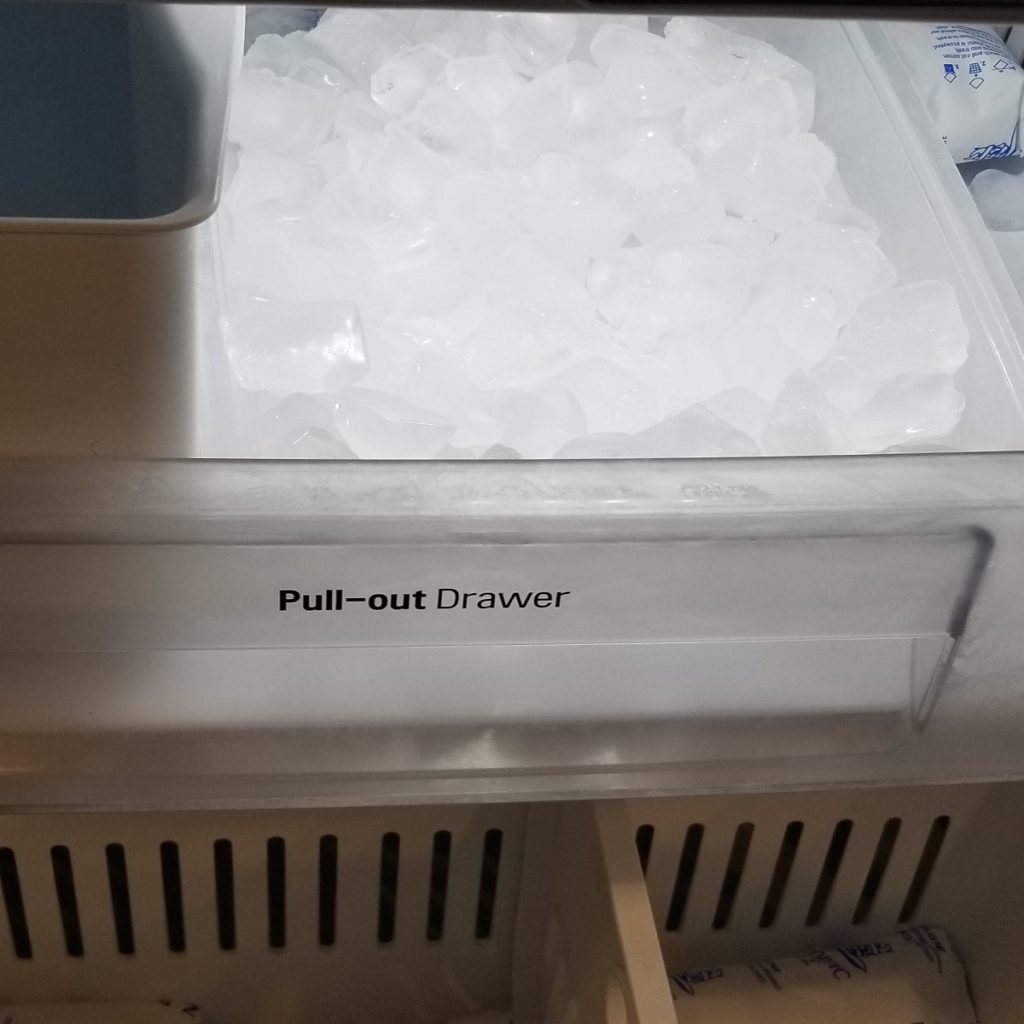
To winterize a refrigerator with an ice maker, turn off the water supply and drain the water lines. Ensure the ice bin is empty and dry to prevent mold growth.
Winterizing your refrigerator with an ice maker is a crucial task as temperatures drop, especially if you plan on leaving your home unattended during the cold months. This process involves a few simple yet significant steps to prevent damage and costly repairs.
Taking the time now to properly winterize your appliance can save you from the inconvenience of malfunctions and extend the life of your refrigerator. Understanding the importance of this task, we’ll guide you through the necessary precautions to protect your refrigerator through the winter, ensuring its functionality for when you need it next. Proper winterization helps maintain your fridge and ice maker in optimal condition, averting any unwelcome surprises upon your return to a cozy, well-kept home.

Credit: billhansenrealty.com
Introduction To Winterizing Appliances
As temperatures drop, preparing your home for the chilly season is crucial. Winterizing appliances protects them from cold damage and ensures their optimal performance. Think of it as bundying up your home to keep every corner warm and functional, including your hardworking appliances.
The Importance Of Winterizing
Winterizing appliances is about more than comfort. It saves energy, reduces repair costs, and extends the life of your appliances. A well-prepared appliance faces fewer winter challenges and is ready to perform when you need it most.
Why Focus On Your Refrigerator’s Ice Maker?
Your refrigerator’s ice maker is especially vulnerable in winter. Water lines can freeze and burst, leading to expensive repairs. Proper steps can shield your ice maker from the cold, ensuring a steady supply of ice even on the frostiest days.
- Turn off water supply
- Drain the water line
- Clean and dry the ice bin
| Step | Action | Benefit |
|---|---|---|
| 1 | Insulate water lines | Prevents freezing |
| 2 | Adjust fridge settings | Ensures efficiency |
| 3 | Service ice maker | Avoids winter malfunctions |

Credit: m.facebook.com
Prep Work For Winterization
As the chilly breeze signals the approach of winter, your appliances need preparation for the cold months. Winterizing your refrigerator with an ice maker is a crucial step. It ensures longevity and efficiency. A well-prepared fridge avoids frost issues and maintains its prime condition during disuse. Let’s get ready to protect your appliance from the winter woes with some essential prep work.
Gathering Necessary Supplies
Begin by collecting all the supplies you will need for winterization. A simple tool kit should include:
- A screwdriver set
- Towels or rags for cleaning
- A jug of white vinegar for disinfecting
- Baking soda to neutralize odors
- And an antifreeze solution for the ice maker
Safety First: Unplugging Your Appliance
Safety cannot be overlooked when winterizing your refrigerator. Ensure your appliance is unplugged. This step prevents electrical hazards. It’s the fundamental first task to do before beginning any maintenance work. Give your appliance a rest from power. Now safely proceed with winterization.
Cleaning The Refrigerator And Ice Maker
As the chill of winter sets in, preparing your refrigerator and ice maker for the colder months is key. Regular cleaning not only ensures their longevity but also keeps odor and germ build-up at bay. The following sections provide simple and efficient ways to deep clean these essential appliances.
Step-by-step Cleaning Guide
Begin by unplugging the refrigerator. This ensures safety during the cleaning process. Empty all contents, checking expiry dates and tossing out old items. With everything removed, you’re ready to start.
- Remove shelves and bins. Wash them with warm, soapy water.
- Clean the interior. Use a soft cloth and a mixture of water and baking soda.
- Wipe down the door seals. Use the same mixture for the seals.
- Reinstall shelves and bins. Dry them completely before placing them back.
- Clean the ice maker. Turn off the ice maker, remove the bin, and wipe it clean.
- Sanitize the ice maker. More details in the next section.
- Return contents to the refrigerator. Organize as you restock.
- Plug in and power up. Your refrigerator is ready for winter!
Best Practices For Sanitization
Sanitizing your refrigerator and ice maker is crucial to eliminate harmful bacteria.
- Mix a solution of water and a small amount of bleach or vinegar.
- Use a clean cloth to apply the solution to all surfaces.
- Let it sit for a few minutes to disinfect.
- Rinse thoroughly with water to ensure no cleaning solution remains.
- Dry all surfaces before turning the ice maker back on.
Embrace these simple steps and your refrigerator will not just survive the winter but also maintain optimal hygiene and efficiency.
Draining Water Lines And Ice Maker
As temperatures drop, winterizing your home becomes crucial. Among your checklist items, don’t forget about your refrigerator’s ice maker! Winterizing prevents water from freezing and damaging the appliance. Let’s guide you through effectively draining water lines and the ice maker, safeguarding your fridge during chilly months.
Locating Water Valves
The first step is finding the water valves. These valves control the flow to your fridge. Turn off the water supply to start the winterizing process. Most valves are behind the refrigerator or under the kitchen sink. Look for a small, round knob or a lever-style valve. Taking photos can help you remember their locations for next season.
Complete Draining Process
Once the valves are off, begin the draining process:
- Empty the ice maker bin. Remove any leftover ice to prevent melting and potential water leakage.
- Run a cycle. For any water still in the lines, activate the ice maker cycle. It helps clear leftover water.
- Disconnect water lines. Detach the water lines from the valves to ensure no water remains.
Collect water from the lines in a bucket. This avoids messes. After drainage, dry the lines with an air compressor. It removes moisture completely. Lastly, leave the ice maker and water dispenser off until you’re ready to use your refrigerator again.
Caring For Seals And Gaskets
Winterizing your refrigerator is crucial to its longevity and efficiency, especially when preparing for the colder months. An important aspect often overlooked is the care of seals and gaskets. These components ensure your refrigerator remains energy efficient by keeping the cold air inside where it belongs. Let’s delve into the steps you should take to maintain these vital parts of your refrigerator.
Inspecting The Seals
Start with a thorough examination of the refrigerator seals. Look for any signs of wear, tear, or damage. Cracks or loose seals can lead to air leaks, resulting in your refrigerator working harder to maintain its temperature. This can ultimately cause a spike in your energy bills and shorten your fridge’s lifespan.
Maintenance Tips For Gaskets
Beyond inspection, regular maintenance of gaskets ensures a tight seal and optimal performance. Here are some effective tips:
- Clean gaskets monthly with warm, soapy water and a soft cloth. Rinse thoroughly and dry.
- Open the door and apply a thin layer of petroleum jelly to the gasket. This keeps the rubber supple and prevents drying out and cracking.
- For stubborn spots, use a 50/50 solution of water and vinegar. This helps remove any mold or mildew.
- Check the alignment by closing the door on a dollar bill. If the bill pulls out easily, the gasket may need replacing.
- Ensure the gasket sits flush against the frame. Address any warping by heating with a hairdryer and gently reshaping the seal.
Remember to handle gaskets gently to prevent any accidental tears. With these tips in hand, your refrigerator’s seals and gaskets will be well-protected against the harsh winter months, saving you energy and money no matter the temperature outside.
Long-term Storage Solutions
Preparing your refrigerator with an ice maker for long-term storage requires careful consideration. This guide focuses on effective solutions to ensure your appliance remains in top condition, despite being inactive. Staying mindful of some essential tips could save you from potential damage and costs in the future.
Optimal Placement For Your Refrigerator
To guarantee your refrigerator’s longevity, selecting an ideal location is vital. Follow these guidelines:
- Choose a cool, dry area to avoid mold and external damage.
- Avoid direct sunlight which can harm the seals and external surfaces.
- Ensure the spot is level to prevent strain on the refrigerator’s components.
Maintaining Air Circulation
Even when not in use, airflow is crucial to protect your refrigerator’s interior. Here’s what you can do:
- Prop the doors open slightly to prevent odors and mold.
- Insert a baking soda container inside to absorb any potential smells.
- For ice makers, disconnect water lines and drain them to prevent freezing and leaks.
Maintaining these practices will help your refrigerator stay fresh and functional until its next use. Store your fridge correctly and enjoy its longevity.
Reactivating Your Refrigerator Post-winter
As the frosty season ends, reactivating your refrigerator is a breeze. If your fridge has hibernated all winter, it’s crucial to start it correctly. A smooth restart keeps it working well. Let’s jump into the essential steps for reawakening your trusty appliance!
Steps For A Smooth Startup
Preparation is key for a successful reactivation. Follow these steps:
- Inspect the cord for damage. Ensure it’s safe to use.
- Clean inside and out. Wipe shelves and surfaces.
- Position the fridge in its space. Leave room for air flow.
- Plug it in. Wait 24 hours for it to reach optimal temperature.
- Restart the icemaker by turning it on or reconnecting the water line.
- Restock with fresh food. Check expiration dates.
Troubleshooting Common Issues
Even with careful setup, you might face some hiccups. Here’s how to tackle them:
| Issue | Solution |
|---|---|
| Fridge not cooling | Check to see if it’s plugged in. Ensure the thermostat is set correctly. |
| Water dispenser not working | Check for kinks in the water line. Confirm the water valve is open. |
| Ice maker not producing ice | Make sure the icemaker is turned on. Look for clogs in the line. |
| Odd noises | Level the fridge. Objects touching the fridge can also cause noise. |
For more complex issues, consult the manual or contact a professional.

Credit: momsdesignbuild.com
Frequently Asked Questions Of How To Winterize A Refrigerator With Ice Maker
Why Winterize Your Refrigerator Ice Maker?
Winterizing your refrigerator ice maker is crucial to prevent water lines from freezing and bursting, which can cause significant damage. It’s a simple yet essential step in maintaining your appliance during cold months when it’s not in use.
How To Turn Off Water Supply To Ice Maker?
First, locate the refrigerator’s water shutoff valve, typically behind the fridge or under a sink. Turn the valve clockwise to halt the water flow, ensuring the ice maker’s line is completely shut off before winterization.
Steps To Drain Refrigerator Ice Maker?
To drain the ice maker, first switch off the water supply. Next, remove the ice bin, and start a manual harvest cycle to empty remaining water. Finally, blow compressed air through the lines to clear any residual water.
Can Freezing Temperatures Damage Ice Makers?
Yes, freezing temperatures can damage ice makers. Water expands upon freezing, which can cause pipes and components within the ice maker to crack or burst, leading to costly repairs and potential water damage.
Conclusion
Securing your refrigerator against the chill is simple with the right steps. Our guide ensures your appliance stays frost-free and efficient throughout winter. Embrace these methods; safeguard your fridge and ice maker against the cold. Ready your kitchen for the season, and enjoy uninterrupted service.
Remember, timely maintenance equals longevity and energy savings.