
To fix a Freon leak in a refrigerator, locate the leak, and hire a professional to repair it and recharge the system. Handling Freon, a refrigerant, requires specialized knowledge and equipment for safety.
A Freon leak in your refrigerator is not only inconvenient but also potentially hazardous. It’s vital to address this issue promptly to maintain your refrigerator’s efficiency and ensure the safety of your household. Dealing with refrigerants should be approached with caution, as they can pose health risks and are subject to environmental regulations.
A qualified technician will have the tools to detect leaks, repair the faulty components, and refill the refrigerant to the correct level. They will also ensure that the repairs meet safety standards, preventing future leaks and preserving the longevity of your refrigerator. Remember, tackling a Freon leak is not a DIY job; always consult with a certified expert to handle the refrigerant safely and effectively.

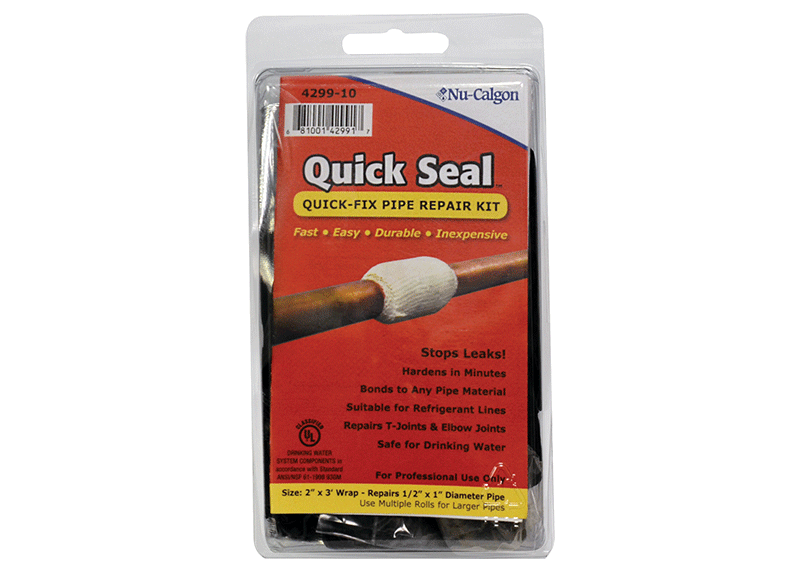
Credit: www.nucalgon.com
Identifying Freon Leak Symptoms
Notice your refrigerator not staying as cold as before? It might be low on Freon due to a leak! Spotting Freon leak symptoms early can save your fridge and your wallet. Let’s unveil these mystery signs together!
Signs Of Reduced Cooling
Is your milk taking too long to chill? Maybe your leftover pizza isn’t as cold as it used to be. Reduced cooling is a tell-tale sign. Food spoils quicker. The fridge’s motor runs endlessly. These clues point to a Freon leak.
Unusual Noises And Odors
Hearing a hiss or a light gurgling from your fridge? Does your kitchen smell a bit like chemicals or something sweet? Pay attention. These sounds and smells may mean Freon is escaping.
Visual Indicators On Refrigerator Coils
Time to inspect your refrigerator coils. Look out for oil residue or any hint of coloring on the coils. These marks often accompany a Freon leak. Remember, only a certified technician should handle Freon.
- Check for oily spots on the fridge’s coils.
- Ice or frost on the outside pipes isn’t normal.
- Discoloration around the fridge’s piping system hints at trouble.
Safety Precautions Before Repair
Dealing with a Freon leak in your refrigerator is a serious task. Safety comes first. Always observe safety precautions before attempting any repairs. This ensures a risk-free repair environment.
Proper Ventilation
Freon is a colorless, odorless gas that can be harmful if inhaled in enclosed spaces. It’s essential to keep the area well-ventilated. Open windows and use fans to circulate air.
Wearing Protective Gear
Personal protective equipment (PPE) is non-negotiable. Wear gloves and goggles to shield your skin and eyes from Freon exposure. Long sleeves and pants provide an extra layer of protection.
- Gloves
- Goggles
- Long sleeves
- Pants
Ensuring Power Isolation
Eliminating electrical risks is paramount. Unplug the refrigerator before starting the repair. This action cuts the power supply, preventing electric shocks.
- Turn off the fridge.
- Disconnect from the power outlet.
- Confirm power is off.
Tools And Materials Required
Repairing a Freon leak in your refrigerator is a critical task. To ensure a smooth repair process, you need the right tools and materials. This section will help you prepare to seal that leak effectively and safely.
Gathering Essential Equipment
Before you start fixing a Freon leak, make sure you have these items:
- Refrigerator repair manual – for specific instructions.
- Gloves and safety goggles – to protect your hands and eyes.
- Leak detector or soapy water solution – to find the leak.
- Screwdrivers – for opening the refrigerator panel.
- Wrench set – to tighten or loosen connections.
- Valve stem – for Freon refill.
Choosing The Right Type Of Freon
Freon is a trade name for a group of refrigerants. Your refrigerator will need a specific type:
| Refrigerator Age | Type of Freon Required |
|---|---|
| Older models | R-12 |
| Newer models | R-134a or R-600a |
Note: Refer to your manual for the exact type needed.
Sealant For Leak Repair
To seal a leak, you will need:
- Commercial refrigerant leak sealant – suitable for your fridge.
- Charging hoses – to inject the sealant and Freon.
Ensure the leak sealant is compatible with your refrigerator’s system.
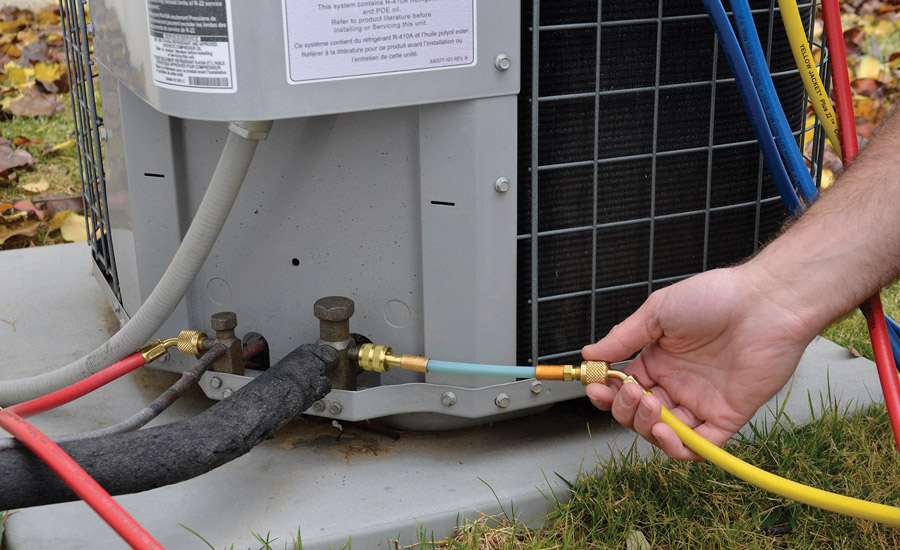
Credit: www.achrnews.com
Step-by-step Leak Detection
Finding a Freon leak in your refrigerator is crucial for ensuring it runs efficiently. This guide provides a simple, step-by-step approach to detecting any leaks, so you can address the issue quickly.
Using A Leak Detector
Freon leak detectors are precise tools designed to locate leaks. They work by sensing refrigerant gases in the air. Follow these steps to get started:
- Ensure your refrigerator is plugged in and running.
- Pass the leak detector slowly around the unit, especially near connections and coils.
- Listen for an alarm or watch for a signal on the device, indicating a leak.
Applying Soapy Water Technique
A simple yet effective method involves using soapy water. Here’s how:
- Mix dish soap with water to create a bubbly solution.
- Apply this mixture to areas susceptible to leaks, such as tubing and joins.
- Observe for bubbles forming, which suggests a leak.
Inspecting With Uv Dye
Including UV dye in the refrigeration system can reveal leaks. UV dye circulates with the Freon.
- Add UV dye to the refrigerator’s charging port.
- Let the system run for several hours.
- Use a UV light to detect dye at leak points.
Take adequate safety precautions, including wearing goggles and gloves, when handling refrigerants and UV dye.
Repairing The Freon Leak
A Freon leak in your refrigerator spells trouble, but fear not; with the right approach, you can fix it yourself. But first, remember that working with refrigerant requires safety precautions and in some jurisdictions, certification. If you’re not confident, it’s always wise to call in a professional. Ready to tackle the repair? Here’s how to seal those leaks and get your fridge running efficiently again.
Sealing Minor Leaks
Minor leaks can often be resolved without extensive repairs. These leaks occur around valve stems or in the evaporator. By using a leak detector or soapy water, you can locate these tiny escape points.
- Turn off the fridge and unplug it.
- Identify the leak using the methods mentioned.
- Apply a leak sealant designed for refrigeration systems.
Recheck to ensure the leak is sealed. If this doesn’t solve the issue, you might need to replace damaged components.
Replacing Damaged Components
Components like the compressor, evaporator coils, or copper line can suffer damage that leads to Freon leaks. Replacing these is more complex.
- Locate the damaged part.
- Order a replacement that matches your refrigerator model.
- Remove the defective component following your fridge’s manual.
- Install the new part and test for leaks.
Soldering Leaks In Metal Parts
Some leaks can be found in the metal parts of the cooling system. These require a sturdy fix, like soldering.
Ensure the fridge is turned off and the area is well-ventilated.
Here is the basic process:
- Clean the affected area thoroughly.
- Apply a flux to help the solder adhere.
- Heat the area with a torch until hot enough for soldering.
- Solder the hole or crack to seal it.
Refilling Freon In The Refrigerator
Is your refrigerator not keeping food cold? It might be a Freon issue. Let’s face it, refilling Freon in your refrigerator can be daunting. But don’t worry. Do it right with these steps!
Vacuuming The System
Before adding Freon, remove air and moisture. That’s crucial! Use a vacuum pump. This step ensures the system is clean. Follow these points:
- Turn off the fridge.
- Connect the vacuum pump to the service port.
- Run the pump for 15-30 minutes.
- Watch for a stable vacuum.
Charging With The Correct Freon Amount
Using the right Freon amount is key. Too much or too little won’t do. A scale helps here. Here’s what you do:
- Find the fridge’s Freon type.
- Get a Freon kit.
- Set the scale and read instructions.
- Charge slowly.
Keep an eye on the scale. When you reach the right amount, stop.
Checking For Proper Operation Post-refill
Check the fridge’s performance after refilling. It should cool well now. Remember:
| Step | Action |
|---|---|
| 1 | Start the refrigerator. |
| 2 | Wait 24 hours. |
| 3 | Monitor the temperature. |
| 4 | Check for leak signs. |
Prevention And Maintenance Tips
Freon leaks in refrigerators are a concern for any homeowner. Not only can they increase energy costs, but they can also shorten the lifespan of your appliance. Prevention and maintenance are key to avoiding these leaks. Let’s explore some effective strategies to keep your refrigerator running efficiently and leak-free.
Regular Cleaning Routines
Maintaining a regular cleaning routine is crucial for refrigerator health. Dust and debris can accumulate on condenser coils, leading to inefficient operation and potential Freon leaks. Follow these simple cleaning tips:
- Switch off your fridge and unplug it.
- Clean the condenser coils every six months.
- Use a coil brush or vacuum for dust removal.
- Wipe down the gaskets with a mild cleaner.
Avoiding Overstocking The Fridge
Overstocking the refrigerator can block air vents, creating an overworked appliance and increased risk of Freon leaks. Keep ample space in your fridge by:
- Storing food in clear containers.
- Keeping the interior organized.
- Ensuring that air vents are not blocked.
- Discarding old or spoiled items regularly.
Scheduling Professional Inspections
Professional inspections can identify potential issues before they become major problems. Aim for an annual check-up that includes:
| Service | Frequency |
|---|---|
| Seal integrity check | Annually |
| Coolant level evaluation | Every other year |
| General appliance health assessment | Annually |

Credit: homeguide.com
Frequently Asked Questions For How To Fix Freon Leak In Refrigerator
What Causes A Refrigerator Freon Leak?
A refrigerator Freon leak can result from several issues, such as corrosion, factory defects, or physical damage to the cooling system. Over time, wear and tear or vibrations can cause small punctures or breaks in the refrigerant lines, leading to a leak.
Can I Detect A Freon Leak By Myself?
Yes, you can detect a Freon leak by checking for signs like a hissing noise, frost build-up on the pipes, or a chemical smell. For non-obvious leaks, you may use soapy water to detect bubbles where leaks are present or a Freon leak detector.
How Much Does It Typically Cost To Repair A Freon Leak?
The cost to repair a Freon leak in a refrigerator varies, but it ranges from $200 to $400. The price depends on the leak’s severity, the repair complexity, and technician labor charges.
Is Repairing A Freon Leak In My Refrigerator A Diy Task?
Repairing a Freon leak is not typically a DIY task because it requires specialized knowledge, tools, and the handling of hazardous substances. It is recommended to hire a certified technician to address Freon leaks safely and adequately.
Conclusion
Repairing a Freon leak in your refrigerator can be a daunting task, yet it’s crucial for efficiency and safety. By following the steps outlined in this guide, you can tackle the issue with confidence. Remember, prompt action prevents further complications and ensures your unit runs smoothly.
For complex leaks, always consider professional help to guarantee a secure and proper fix. Keep your refrigerator running optimally and safeguard your food by addressing Freon leaks promptly.