
To charge 421A refrigerant, first ensure both the HVAC system and refrigerant container are off. Next, connect the refrigerant hose to the system’s low-pressure service port.
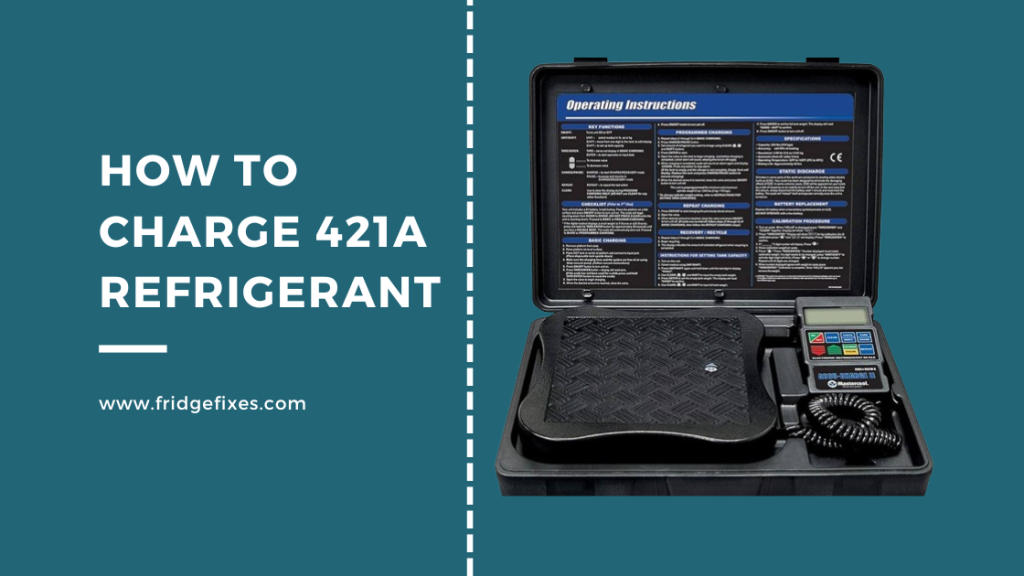
Charging 421A refrigerant in air conditioning systems requires precision and attention to safety. HVAC technicians often undertake this task following specific protocols to maintain system efficiency and avoid damage. It’s essential to have the right tools, including a refrigerant tank, gauges, hoses, and a scale to control the quantity precisely.
Using manifold gauge sets, techs can monitor pressure and add the correct amount of 421A refrigerant. This hydrofluorocarbon blend, favored for its compatibility with many lubricants, offers a seamless retrofit for older systems using R-22. Proper refrigerant charging ensures the system operates optimally, providing the desired cooling effect while maintaining energy efficiency. Environmental and legal considerations also underscore the importance of meticulous handling as refrigerants can be potent greenhouse gases.

Credit: www.ebay.com
Introduction To 421a Refrigerant
421A refrigerant, a modern solution for air conditioning systems, steps up as the eco-friendlier choice. This refrigerant replaces older, less efficient options. Efficiency and environmental safety drive its growing popularity.
The Rise Of 421a
Once obscure, 421A refrigerant now leads the market. Its rising fame ties to its compatibility with existing equipment and low environmental impact. A shift in industry standards paved the path for its dominance.
Benefits Of Using 421a
- Non-ozone depleting: 421A causes minimal harm to the ozone layer.
- Energy efficient: Systems using 421A run smoother and use less power.
- Easy retrofit: 421A works well in many old systems with minimal changes.
Safety Precautions
Charging 421A refrigerant requires focus on safety. It’s crucial, like with any HVAC task. Safety measures protect you from harm. They also ensure the process runs smoothly. Before charging 421A refrigerant, familiarize yourself with these precautions.
Personal Protective Equipment
Using personal protective equipment (PPE) is essential. PPE shields you from accidental exposure to refrigerant. When handling 421A, always wear the following:
- Gloves: Wear gloves resistant to chemicals. They guard your skin.
- Goggles: Eye protection is a must. It prevents eye contact with refrigerant.
- Apron: Use a durable apron. It protects your clothes and skin.
Confirm your PPE is in good condition. Replace it if you find any damage.
Understanding Refrigerant Properties
Knowledge of 421A is important. Understand the substance you are working with.
| Property | Detail |
|---|---|
| Chemical Composition | Blend of R-125, R-134a, and R-600a |
| Pressure | Operates at high pressure |
| Toxicity | Can be toxic if inhaled |
| Flammability | Non-flammable under most conditions |
Understanding these properties helps prevent accidents. It allows for proper handling.
Tools & Materials Needed
Before embarking on the task of charging 421A refrigerant, it’s crucial to assemble the right tools and materials. This ensures a safe and efficient process.
Gauges And Hoses
Accurate gauges and durable hoses form the backbone of any refrigerant charging setup. Manifold gauges allow you to read pressure, essential for correct charging. Reliable hoses connect the gauges to your refrigeration system. A color-coded system is standard: red for high pressure, blue for low pressure, and yellow for the refrigerant cylinder.
Refrigerant Cylinder
A refrigerant cylinder containing 421A refrigerant is the star of this task. Ensure this cylinder is properly labeled and certified for 421A use. Place it on a stable platform during the charging process.
Other Essential Tools
- Wrenches and pliers – for opening and closing connections.
- Leak detector – to ensure system integrity and safety.
- Thermometer – to measure the system’s temperature accurately.
- Electronic scale – to weigh refrigerant accurately.
- Safety glasses and gloves – to protect against potential hazards.
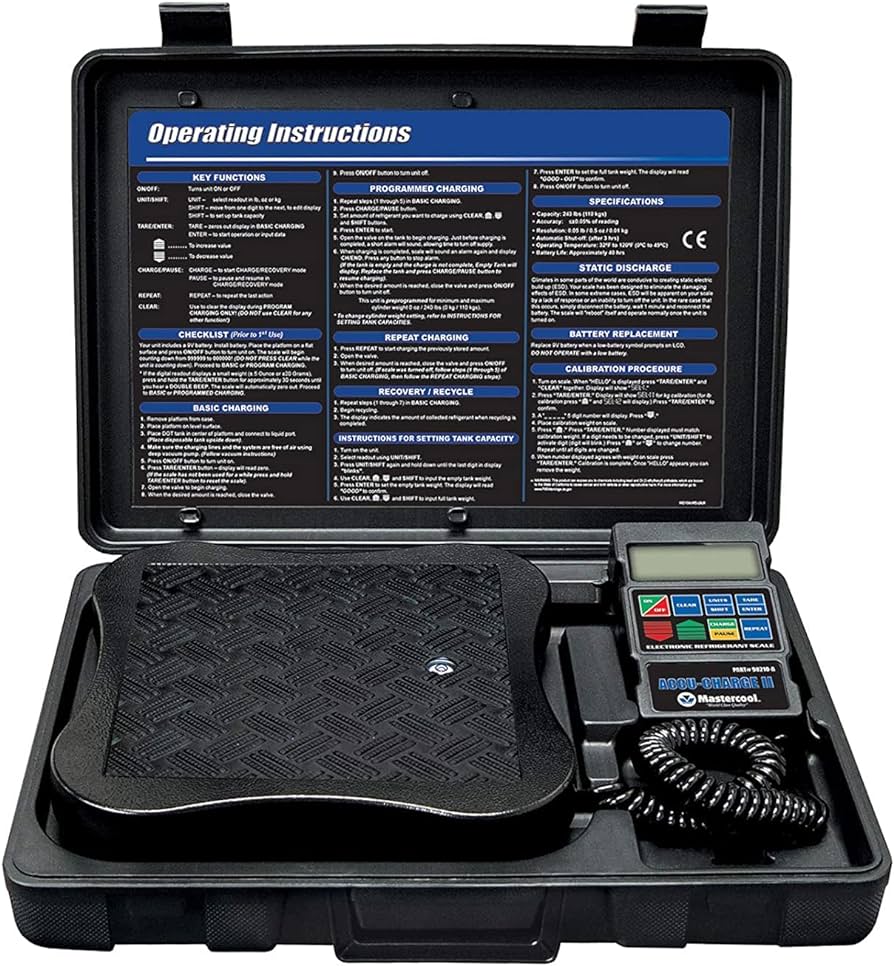
Credit: www.amazon.com
Preparation For Charging
Before adding 421A refrigerant to your system, careful preparation is paramount. It ensures safety and efficiency. Here’s what you need to do:
System Shutdown
Turn off your AC unit from the thermostat and the breaker. This stops the compressor and protects it during the process.
Attaching Gauges
Next, connect the service gauges to your unit. The blue gauge attaches to the low side, and the red gauge goes to the high side. Ensure tight connections for accurate readings.
Vacuuming The System
Remove air and moisture by vacuuming the system. Attach the vacuum pump to the center hose of your gauge set. Run the pump for at least 15 minutes to achieve a full vacuum.
- Check for leaks: After vacuuming, observe the gauges for any pressure changes. This indicates potential leaks that must be fixed before charging.
Charging Process
Ensuring an air conditioning system functions properly involves charging it with the correct amount of refrigerant. The 421A refrigerant charging process is crucial for peak performance. Careful steps must be taken to charge the system correctly. Let’s dive into the specific steps beginning with determining the charge requirements.
Determining Charge Requirements
Before adding refrigerant, it’s essential to know the right amount needed. Start with the manufacturer’s specifications. These indicate the precise charge required for optimal performance.
- Check the nameplate: It gives the factory-recommended charge.
- Assess the system capacity: Bigger units usually need more refrigerant.
- Consider ambient temperature: It affects the pressure and charge levels.
Adding The 421a Refrigerant
With correct requirements in hand, proceed to charge the system. Wear protective equipment and use a quality refrigerant scale to ensure accuracy.
- Connect the manifold gauge: Attach it to the low side service port.
- Open the valve slowly: Begin adding the 421A refrigerant to the system.
- Monitor the scale: Ensure the proper amount enters the system.
Monitoring System Pressure
As you charge the system, keeping an eye on the pressure is key. It prevents overcharging and potential damage.
Use a gauge to monitor the pressure continually. The correct pressure ensures the system runs smoothly. If the pressure gets too high or too low, adjust the charge accordingly.
| Pressure Gauge Reading | Action Required |
|---|---|
| Within Specified Range | System is properly charged |
| Below Range | Add more refrigerant |
| Above Range | Remove excess refrigerant |
Troubleshooting Common Issues
Having trouble with your 421A refrigerant charge? Proper charging is essential for the efficiency and longevity of your AC system. You might encounter problems like overcharging or undercharging. The system may also have leaks. These issues could lead to inadequate cooling or potentially damage the system itself. Let’s explore common charging issues and how to fix them.
Addressing Overcharging
Signs of overcharged refrigerant include high pressure readings and a strain on the compressor.
- Turn off the HVAC system immediately.
- Connect pressure gauges to check levels.
- Use a refrigerant recovery machine to remove excess.
Proper equipment usage prevents damage and maintains system performance.
Dealing With Insufficient Charging
Low refrigerant levels can decrease cooling power and cause the evaporator coil to freeze.
- Begin with system power off and gauges connected.
- Identify correct pressure per manufacturer specifications.
- Add refrigerant slowly, monitoring pressure closely.
Stop once the recommended pressure is achieved.
System Leak Checks
A refrigerant leak can lead to undercharging and damage the environment.
| Step | Action | Outcome |
|---|---|---|
| 1 | Inspect for visual leaks. | Identify possible refrigerant escape points. |
| 2 | Apply soap solution to suspected areas. | Bubbles indicate the presence of a leak. |
| 3 | Use electronic leak detector for accuracy. | Confirm and locate invisible leaks. |
Fix leaks promptly to prevent further issues and recharge system according to guidelines.
Post-charging Checklist
Charging your system with 421A refrigerant is just part of the job. A careful review after the process ensures safety and efficiency. Follow this checklist to confirm a successful charge.
Final System Inspection
Begin with a thorough inspection of the system. Check for any unusual noises or vibrations that could indicate issues. Make certain all fittings are secure and there are no leaks. Review pressure readings to confirm they align with recommended specifications.
Documentation & Labeling
Accurate records are crucial. Note the amount of refrigerant added and service dates. Label the system with the type of refrigerant and charge amounts for future reference.
Tips For Maintaining Refrigerant Levels
- Regular checks help avoid unexpected drops in refrigerant levels.
- Invest in leak detection tools to catch issues early.
- Establish a maintenance schedule to inspect and clean components.
- Use only high-quality refrigerant to prevent contamination.

Credit: www.lowesprosupply.com
Frequently Asked Questions Of How To Charge 421a Refrigerant
What Is 421a Refrigerant Used For?
421A refrigerant is commonly used in residential and commercial HVAC systems. It’s an eco-friendly, HFC blend designed to replace R22 in existing systems without needing modifications.
How To Properly Charge Hvac With 421a?
To charge an HVAC system with 421A, connect gauges to the low side service port. Add refrigerant slowly in the vapor form until the desired pressure is reached, following manufacturer’s specifications.
What Tools Are Needed To Charge 421a?
Charging 421A refrigerant requires a set of HVAC gauges, a refrigerant scale, and a vacuum pump to evacuate the system prior to charging. Ensure you have appropriate protective gear as well.
Can I Retrofit My R22 System With 421a?
Yes, you can retrofit an R22 system with 421A refrigerant. It typically doesn’t require component changes, but always consult with an HVAC professional to confirm compatibility and perform the retrofit.
Conclusion
Charging your 421A refrigerant can be straightforward with the right techniques. Remember, safety is paramount, so always wear protective gear. Ensure you follow the manufacturer’s instructions closely for the best results. Regular maintenance will keep your system running efficiently. Trust in your skills, and your equipment will thank you with optimal performance.